Introduction to Drawing a LEGO
Hello fellow brick builders! Are you ready to use your artistic skills to bring LEGOs to life on your canvas? Drawing a LEGO can be a fun and rewarding experience that allows you to showcase your creativity in a different medium. Whether you’re a seasoned artist or just starting out, this guide will walk you through the step-by-step process of drawing a LEGO, covering everything from basic shapes to adding realistic details. So grab your pencils and let’s dive in!
Tools and Materials
Before we begin, let’s make sure you have everything you need to start your LEGO drawing journey. Here are the tools and materials you’ll need:
- Pencils: We recommend using a range of graphite pencils to create different shades and tones in your drawing.
- Eraser: A good quality eraser will allow you to correct any mistakes or make adjustments as you go along.
- Drawing paper: Choose a smooth and sturdy paper that can handle the pressure of your pencils without easily tearing.
- Ruler: A ruler will come in handy for drawing straight lines and creating precise angles.
- Reference image: Find a clear and detailed reference image of the LEGO you’d like to draw. This will help you capture the accurate proportions and details.
Breaking Down the LEGO
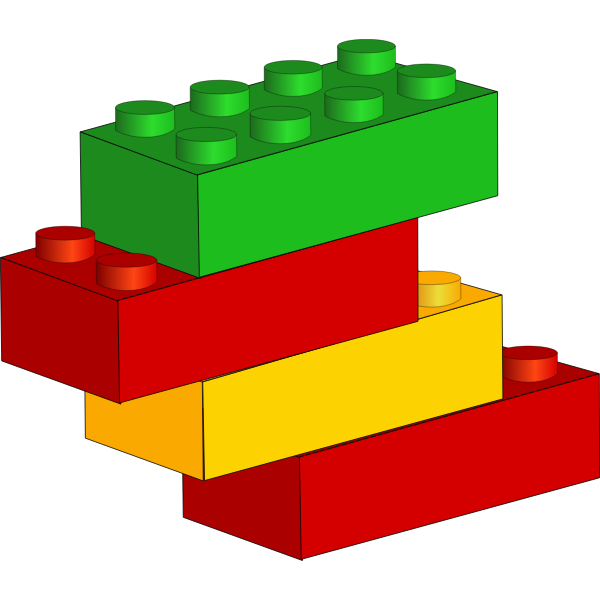
Before diving into the details, let’s analyze the basic structure of a LEGO. A LEGO consists of several key components, which we will break down into simple shapes. These shapes will serve as the building blocks of our drawing. Here are the main components:
| LEGO Component | Shape |
|---|---|
| Bricks | Rectangular Prisms |
| Studs | Cylinders |
| Tiles | Squares or Rectangles |
| Minifigures | Ovals for bodies, cylinders for heads |
| Accessories | Varied shapes (e.g., swords, crowns, etc.) |
By breaking down the LEGO into these simple shapes, we can tackle each component separately and gradually build up the complexity of our drawing.
Sketching the LEGO
Now that you understand the basic building blocks of the LEGO, let’s start sketching! Initially, use a light pencil to create loose, rough outlines of the LEGO’s main components. This will serve as the foundation of your drawing:
- Start by drawing the main body of the LEGO using rectangular prisms. Pay attention to the proportions and angles, as they will determine the overall look of your LEGO.
- Add the studs on the top surface of the LEGO using small cylinders. Remember, LEGOs come in various sizes, so adjust the number of studs accordingly.
- For tiles, draw squares or rectangles on the LEGO’s surface. These can represent smaller details or decorative patterns.
- If you’re drawing minifigures, sketch the oval-shaped bodies and cylindrical heads. Keep in mind the proportions and features of the specific minifigure you’re drawing.
- Finally, add the accessories using the appropriate shapes. This could be anything from swords and crowns to tools or hats.
As you sketch, remember that these initial lines will be refined and adjusted later. So feel free to experiment and make necessary changes to achieve the desired outcome.
Adding Detail and Realism
Now that you have the basic structure of your LEGO, it’s time to add the finishing touches to make it look more realistic and detailed:
- Refine the outlines of each component, making them more defined and precise.
- Gradually add shading to create depth and dimension. Start by identifying the light source and determine where the shadows will fall. Use your range of graphite pencils to create smooth gradients, darker tones in the shadows, and lighter tones in the highlights.
- Pay attention to smaller details such as the texture of each component. LEGOs often have a smooth and glossy surface, so use your pencil strokes accordingly to mimic that effect.
- If you’re drawing a specific LEGO set, replicate any logos, patterns, or labels, ensuring they’re accurately positioned and proportioned.
Remember, take your time and be patient with the process. Drawing is all about practice, so don’t be discouraged if your first attempts don’t turn out exactly how you envisioned. With each drawing, you’ll improve and develop your unique style.
Finishing Touches and Final Thoughts
You’re almost there! Now it’s time to add those final touches to bring your LEGO drawing to life:
- Use your eraser to remove any unwanted pencil marks or smudges.
- Double-check the proportions and details to ensure accuracy.
- If you want, you can add a background or incorporate other elements to enhance the overall composition and storytelling of your drawing.
- Step back and admire your work! You’ve successfully captured the essence of a LEGO on your canvas.
Remember, drawing a LEGO is a fun and creative process, so enjoy every step along the way. Embrace experimentation, learn from each drawing, and soon enough, you’ll master the art of LEGO drawing.
Conclusion
Congratulations, dear LEGO enthusiasts and aspiring artists! You’ve reached the end of our in-depth guide on how to draw a LEGO. We hope you found this journey both informative and engaging, and that it has inspired you to unleash your creativity on canvas. Remember, each stroke of the pencil brings you one step closer to building a world of colorful bricks through your drawings. So keep practicing, exploring, and sharing your artistic endeavors with the LEGO community. Happy drawing!
Leave a Reply